Not only does it waste water, but it also adds to your utility bills. However, fear not, as fixing a leaky faucet is a task that you can tackle yourself with a little know-how and the right tools. This comprehensive guide will walk you through the seven essential steps for plumbing repair to help you put an end to that persistent drip and regain control over your water usage.
Turn Off The Water Supply
This is an essential thing to do in order to ensure your safety and that no further damage is made. Homeowners from all around the Queen of Watering Places are advised by their plumber in Brighton not to forget this as it can cause further trouble. After successfully turning off the water supply, take a moment to relieve any remaining water pressure. Open the faucet handles, starting with the affected one, and allow any trapped water to drain out completely.
Having a towel or bucket handy to catch any excess water will help keep your work area dry and minimize the risk of unexpected water spray when disassembling the faucet components. Prioritize safety as you proceed with the repair. Ensure there is no residual water left in the pipes by opening other faucets connected to the same water supply and letting them run briefly. This step will help clear out any remaining water in the system.
Determine The Type Of Faucet
To effectively fix a leaky faucet, it’s crucial to determine the type of faucet you have. These could be the following:
- compression
- ball
- cartridge
- ceramic disk
- touchless
- bridge faucets
- pull-down
- wall-mounted
Understanding the specific faucet design will help you identify the appropriate repair method and the necessary replacement parts if needed. Start by examining the faucet closely. Once you have identified the type of faucet, it’s time to gather some additional information. Take note of the faucet’s brand and model, if possible. This information can be found on the manufacturer’s label, which is usually located on the faucet body or underneath the sink. Knowing the brand and model will greatly assist you in finding the correct replacement parts, should they be necessary. Lastly, it’s helpful to consult the manufacturer’s documentation or visit their website to find specific instructions or diagrams related to your faucet type.
Disassemble The Faucet
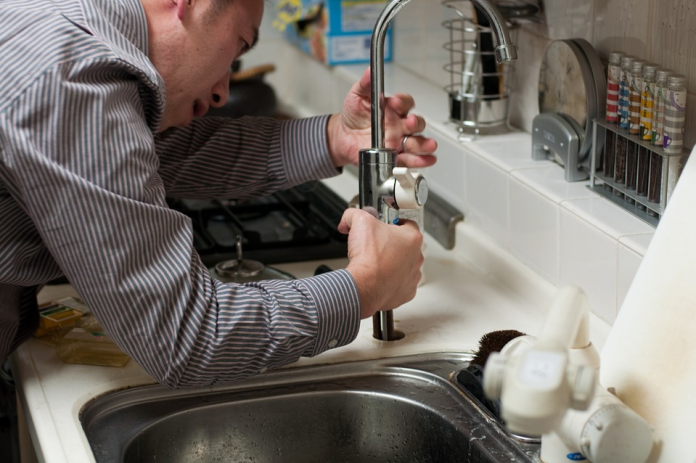
After turning off the water supply, locate the small set screw on the handle, typically found underneath a decorative cap or cover. Use an appropriate screwdriver or Allen wrench to loosen and remove the set screw. With the set screw removed, gently wiggle and pull the handle away from the faucet assembly.
Once the handle is off, you’ll need to access the cartridge or valve inside the faucet body. Look for a retaining nut or collar that secures the cartridge in place. Using an adjustable wrench or pliers, carefully loosen and remove the retaining nut by turning it counterclockwise. Be cautious not to apply excessive force, as some nuts may be tightly secured. Once the retaining nut is off, you can now pull the cartridge or valve assembly straight out of the faucet body.
After removing the cartridge or valve, it’s essential to inspect it for any signs of damage or wear. Look for worn-out seals, cracks, or mineral deposits that may be causing the leak. If you notice any issues, it’s advisable to replace the faulty component with a matching replacement part.
Find And Fix The Issue
Once you have disassembled the faucet and inspected its components, carefully examine each part for potential problems. Look for worn-out seals, damaged O-rings, or cracks that could be causing the leak. Additionally, check for any loose or improperly aligned connections that may contribute to the issue.
If you identify a specific issue during your inspection, it’s time to address it directly. For example, if you notice a worn-out seal or O-ring, replace it with a matching replacement part. If there’s a crack in the faucet body or a component, consider replacing the affected part entirely. In some cases, thorough cleaning of the features and tightening of loose connections may be sufficient to resolve the leak. Ensure that any replacement parts you use are compatible with your faucet model to ensure a proper fit and functionality.
Reassemble The Faucet
Begin the process of reassembly by carefully aligning the cartridge or valve in the faucet body, ensuring it sits securely in place. Take note of any alignment markers or grooves that help guide the proper positioning. Once aligned, gently push the cartridge or valve back into the faucet body, applying even pressure until it is fully seated.
Next, it’s important to reattach the retaining nut or collar to secure the cartridge or valve in place. Use an adjustable wrench or pliers to tighten the nut clockwise, ensuring it is snug but not overly tightened. Be cautious not to overtighten, as this could damage the components or cause leaks.
With the cartridge or valve securely in place, it’s time to reattach the handle. Align it with the valve stem and carefully slide it onto the stem, making sure it fits properly. If applicable, reinsert the set screw and tighten it using the appropriate screwdriver or Allen wrench. Once the handle is securely attached, turn on the water supply by reopening the shut-off valves beneath the sink or by turning on the main water supply for your house.
Test It Out
After completing the necessary repairs to fix your leaky faucet, it’s time to test it out and ensure the issue has been resolved successfully. Begin by turning on the water supply slowly and gradually. This will help you monitor the faucet for any potential leaks as the water flows through the system. Keep a keen eye on the repaired areas and connections to ensure they remain dry and leak-free.
Once the water is flowing, test the faucet by turning it on and off in different configurations. Operate the hot and cold-water handles and any additional features such as sprayers or pull-out faucets, if applicable. Observe the faucet closely during these tests, paying attention to any signs of dripping or persistent leakage. Make sure to address any additional issues as they can harm the functionality and overall look of your home.

A leaky faucet can cause various issues, so make sure to address the problem head-on. Follow the steps outlined in this article and the job should go as smoothly as it possibly can. Follow the instruction manual and make sure to do every step with care. If the job is too much for you, enlist the help of a professional. After all, some plumbing issues should not be DIY-d!


